
Settings
The Settings page provides the administrative interface for managing various critical configurations within the logistics system. It is designed to allow users to create and manage essential entities such as customers, transports, stock piles (warehouses), and intake numbers.
The page is divided into several components that allow the user to easily navigate through different tasks.
Costumer
Clicking the "Register New Customer" button opens a modal where users can input the necessary information for a new customer and save it.
- ↳ Name: Enter the full name of the customer. (Required)
- ↳ Email: Enter the customer’s email address. (Required, must be unique)
- ↳ Phone: Enter the customer’s phone number. (Required, must follow a valid format)
- ↳ City: Enter the name of the city where the customer is located. (Optional)
- ↳ Country: Select the customer’s country from a dropdown list. (Required)
- ↳ Address: Provide the full address of the customer, including street and number. (Optional)
- ↳ Grade: Assign a grade or classification to the customer (e.g., VIP, Regular). (Optional)
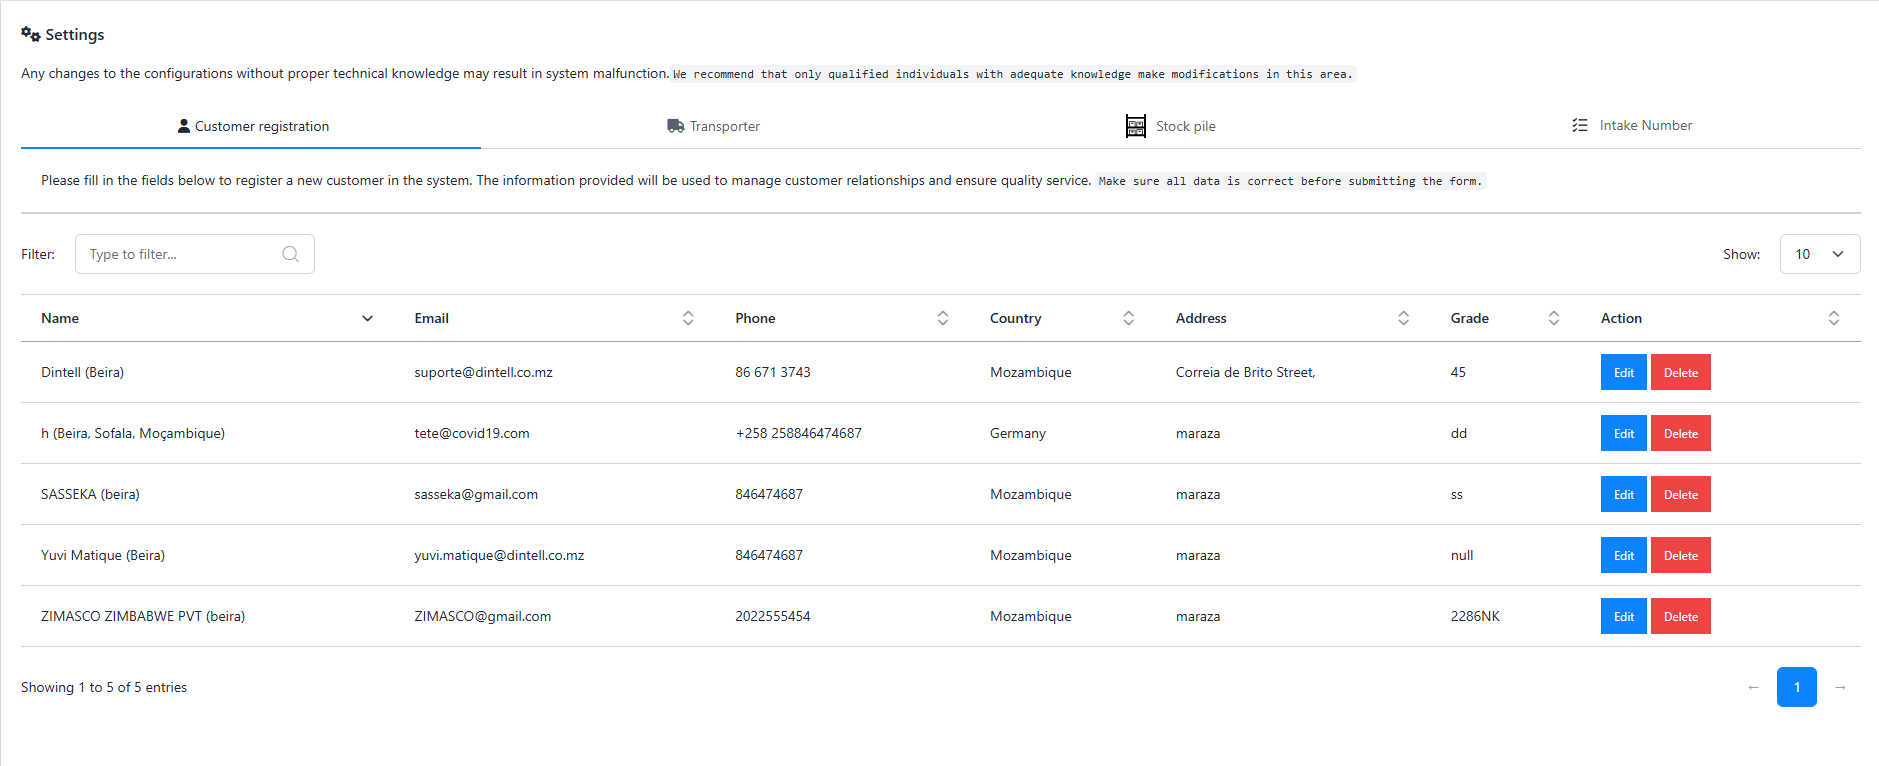
Customer table
Displays a table of all registered customers, with options to edit or delete records.
Transporter
Clicking the "Add Transport" button opens a modal for adding transporter details. This section allows users to add new transporters to the system.
- ↳ Name: Enter the full name of the transporter. (Required)
- ↳ Address: Provide the full address of the transporter. (Optional)
- ↳ City: Enter the city where the transporter is based. (Required)
- ↳ Country: Specify the country where the transporter operates. (Required)
- ↳ Phone: Add a contact phone number for the transporter. (Required, must be valid)
- ↳ Email: Provide an email address for the transporter. (Required, must be unique and valid)
-
↳
Operating Area: Select the operating
area of the transporter. Options include:
- ↳ National: Operates within a single country.
- ↳ International: Operates across multiple countries.
- ↳ Regional: Operates within a specific region or zone.
-
↳
Transport Mode: Choose the mode(s) of
transport supported by the transporter. Options include:
- ↳ Sea: Transportation via ships or vessels.
- ↳ Rail: Transportation via trains.
- ↳ Road: Transportation via trucks or other road vehicles.
- ↳ Air: Transportation via airplanes.
- ↳ Status: Indicate whether the transporter is active or inactive in the system. (Required)
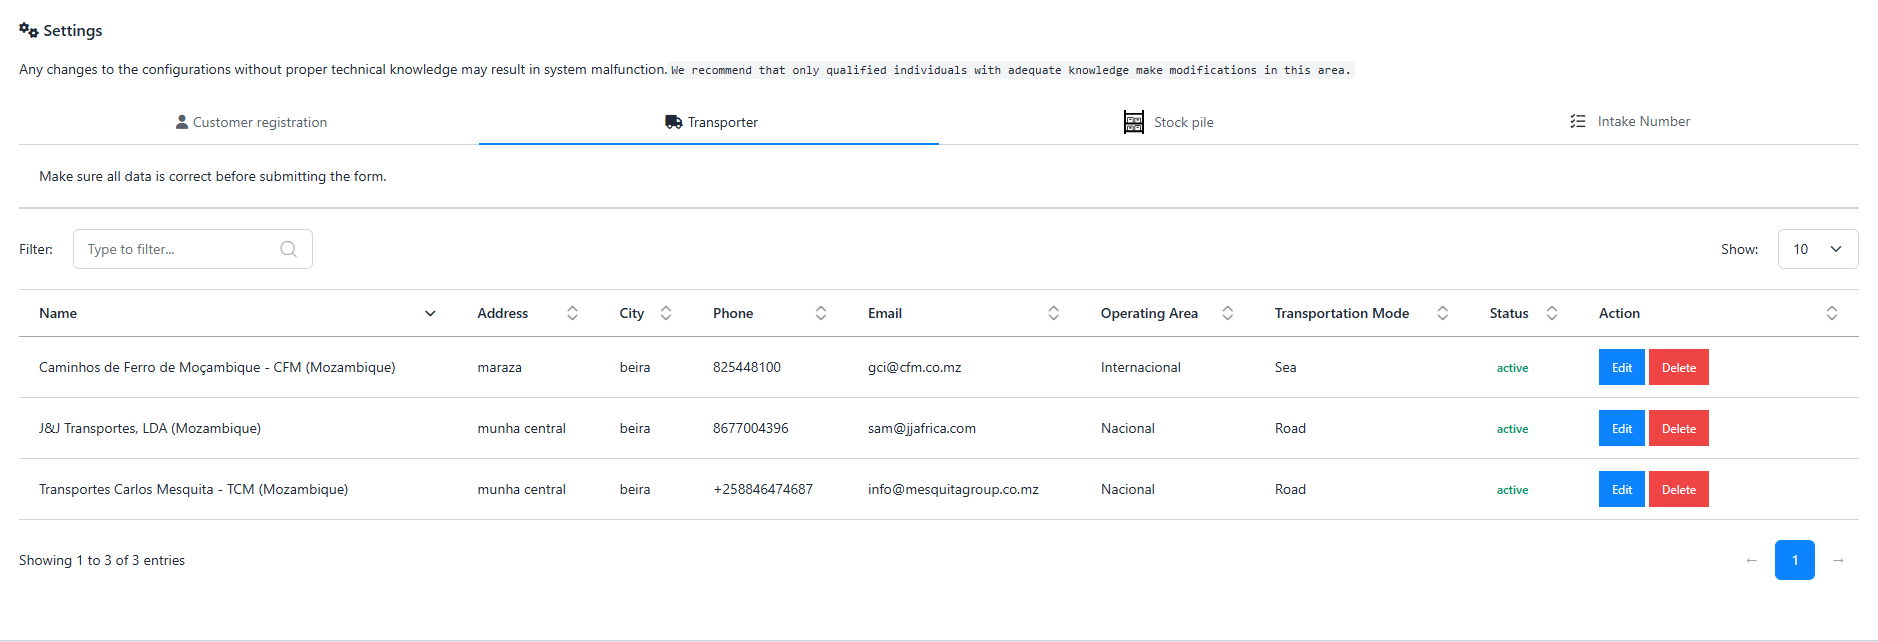
Transporter table
After adding transporter, the "Transporter" tab in the card displays a table of all registered transports.
Stock Pile
The Stock Pile Modal allows users to create and manage stockpile records for logistics operations. To create one, click on "Add Stock Pile" Button and a modal will be opened. It includes fields to capture essential details such as:
- ↳ Name: Enter the name of the stockpile. (Required)
- ↳ Capacity: Specify the total capacity of the stockpile (e.g., in tons or units). (Required)
- ↳ Status: Indicate whether the stockpile is active or inactive in the system. (Required)
After create a Stock Pile, you can click on Stock Pile Tab to see the created stock pile and to edit or delete.
Intake Number
The Intake Number Modal is used to register and manage proof of intake for logistics operations. It includes:
- ↳ Name: Enter the name associated with the intake record. (Required)
- ↳ Description: Provide a brief description of the intake. (Optional)
- ↳ Status: Indicate whether the intake is active or inactive. (Required)
After create a Intake Number, you can click on Intake Number Tab to see the created Intakes Number and to edit or delete.